A lesson in design processes for 2020

Since publishing this Insight Aceik have moved to a design workflow with Figma, we will be writing an insight piece soon about why we made this move and how we use Figma for all of our lo-fidelity and hi-fidelity design work.
If you are using Sketch the below article will still be useful and covers off general principles relating to versioning and teams working on shared design files.
Today, I’m talking about the tools and processes in a design process, and I’m going to specifically cover the past and present of design processes.
Exposing design tools and processes can improve collaboration, provide a smoother transition from design to development and provide insights into how designers work. Because there’s no point building a bridge from two sides if they don’t align once they reach the middle.
What design used to look like
In the beginning, there was only Adobe Photoshop. A traditional process would have seen a designer send JPEGs to a client because the Photoshop file was too large to share. In response, the client would provide feedback in a Word doc and the designer had to muddle through trying to align the design in Photoshop with the client’s amendments. Versioning and latest files became a problem. As a consequence, the aesthetic output was impacted.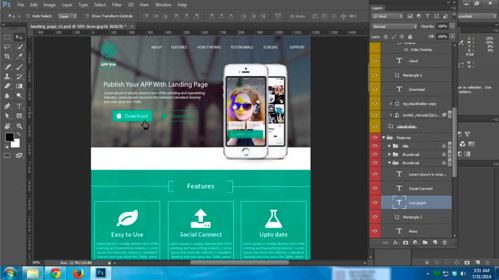
Keep in mind that Photoshop was designed and built around photography rather than graphics. It sort of did the trick when it came to web design, in that you could draw some stuff and put some text into your designs but in reality it wasn’t meant to be a digital design tool. It wasn’t designed first as a digital design tool.
A smarter working environment for designers
What we needed was a smarter working environment built from the ground up specifically for user interface design or digital design.
What designers really needed was:
- To expose the structure of design work
- More optimised files, faster to open and easier to share
Along comes design tools such as Sketch…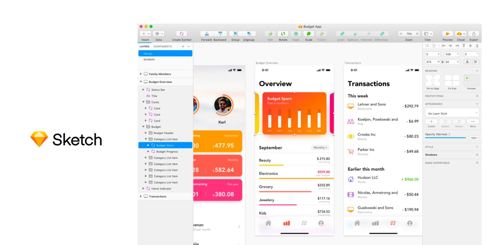
…and InVision.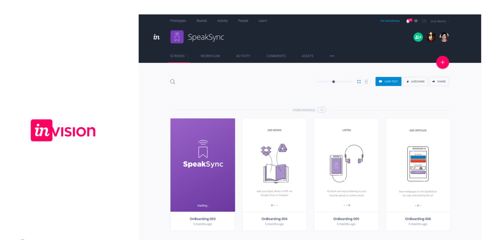
But what is Sketch?
An app built for digital design. It is a local application on a Mac. Edits are non-destructive, so that is different to how Photoshop works. If you want to redraw a shape, you would have to start all over again, and you cannot really change things as easily as what you would be able to do in Sketch. Much smaller file sizes; we are talking about megabytes here. You could have files from ten megabytes, twenty, but certainly, we are not talking about five hundred, unless you add large raster graphics or photos in there. The documents are stored as ZIP archives. The Sketch file format is actually just encoded JSON data. That allows for better third-party integration to plugins or other platforms such as InVision. There is a whole bunch of plugins, and Sketch is super-fast compared to Photoshop.
But where does InVision fit in?
It is a cloud-based hosting platform for designs. The reason why you would want to combine InVision and Sketch is it allows you to create interactive prototypes.
It is a shared environment for collaboration. You can put comments in context, and we can share these screens out to clients. There is also smart outputs, but why we want that is developers can inspect the actual structure of the designs and also get creative assets like SVGs from the actual design files itself, rather than send it by email or zipping it up as what we used to do back in the day. So, it is one place to host all your designs.
Example 1: No such thing as dumb JPEGs anymore
Let’s say you draw a shape in Sketch. It is 212 pixels wide, and it is 212 pixels high. I can change that to, let us say, 200 pixels and it would just change dynamically. Now, it is smart in a way that these fields are not just inputting values. Sketch recognizes some conditions as well. So, let us say I wanted to make this with an extra 100 pixels wide. I could type in 300 pixels, but instead, there are calculations. I could do +100, and it will make that three hundred. I do not have to actually know what the end result is. I just need to know what I want to add to it. Just like with plus, you can also minus as well.
It also recognises different commands. For example, I might want to add 100 to the left only so I add a letter, say ‘R’ and that locks the Right side. The shape them adds to the Left side only. You can measure and have consistent spacing, which is really good for designers because we do want to have consistent spacing for certain elements to match up to a grid.
These are all decisions that we have been baking into the designs.
This is all living on my local drive but how do I share that?
There is a little plugin that InVision has made called Craft. I have made a prototype called, “Awesome Website,” and I can go and publish. That goes off into the cloud and will publish this image into that project.
For example, I have this component called, “Hero Banner” and I have got the modal in here as well. If I click into the Hero Banner, anyone that has the shareable link will able to see this banner.
But did you know this isn’t just a flat image? We can create an interactive prototype from this file and clients and anyone with the shareable link can start adding their feedback. No more Word docs back and forth! Simply, click on a spot (aka hotspot) and add comments. Now those comments are a part of the project and there is context. In turn, a designer can return to the file, know straight away what is being asked of what, go into build mode and implement the change.
The designer then returns to Comment mode and hits resolve to say, “Yes, that is done.” We can track all the history of this, and all the design decisions.
Quick tip: This is not just a JPEG image for developers as we do have an Inspect mode. You can expose many different design elements, for example:
- What is the width
- What is the height
- What is the grid width columns and the gutters
- There is also the colours
- If there are any assets available for download
- The structure of the pages and the layers on the left here
- There is an image, a background, content too
You can also grab the code. It is not just a dumb JPEG image, there is a whole bunch of code that gets pushed up through into the cloud and gets decoupled. You can also change what the code is. For example, you want to use less SAS objective-C Swift code as well. It is all in here. So depending on what the project type is, you can switch that up yourself.
Example 2: No such thing as dumb JPEGs anymore
Let us say we go to any website (but today let’s say that website is Apple.com), grab a screenshot. We’ll then copy/paste the SVG image into Sketch.
Because this is a smart working environment, it is not a static or dumb image. In Sketch you’ll see all of the exposed different elements from the screenshot: colours, texts, font sizes, etc.
We are always interested to hear from designers looking for their next challenge so consider getting in contact today with a link to your folio.